ownCloud 5 Enterprise hits Univention Corporate Server (UCS)
Submitted by blizzz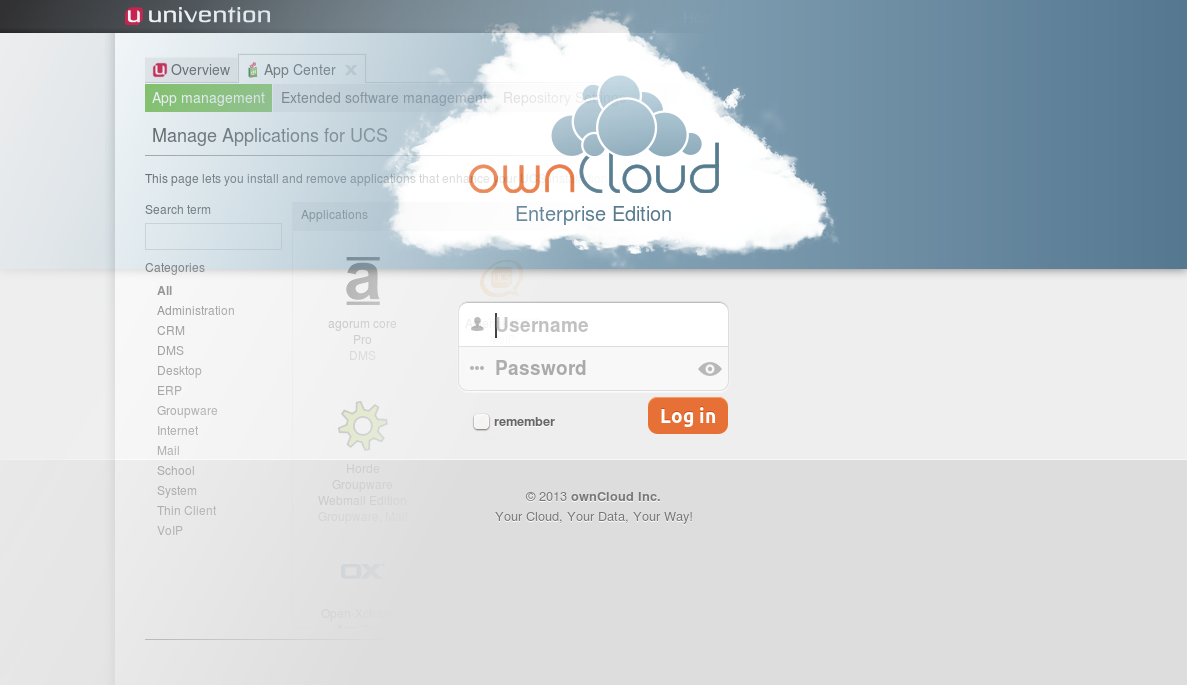
ownCloud 5 Enterprise Edition, released earlier this month, is now available for Univention Corporate Server (UCS) – the innovative heart for the cost-effective operation and simpler administration of server applications and IT infrastructures. As before with previous ownCloud packages for UCS, ownCloud integrates it with the system's LDAP Directory and Configuration Registry (UCR). That means that the new LDAP features can also be (pre-)configured using UCR. For a good overview, we also have updated the documentation.
Installation
The installation is easily done with few clicks from the UCS App Center. Afterwards, open up your ownCloud on your-serv.er/owncloud/ log in and get started.
Upgrade from 4.5
Since our LDAP backend has had quite a few changes [1][2], especially with regard to the creation of (internal) username, you want to double check the settings on upgrade. Of course, we try to ship the most obvious possible default, please nevertheless ensure that it works with your customization. Once again, check out the updated documentation for additional configuration using the Univention Config Registry.
But, since updates in ownCloud 5 work only via browser, please immediately visit your ownCloud site after installing the package. You will see ownCloud upgrading. Keep the page open until it is finished. The update is finished when you will be redirected to the login page. This update can take up some time, depending on the installation and user base. So, do not refresh while upgrading. It may appear that he upgrade procedure is shown twice on UCS. With ownCloud 5.0.10 (tba mid August), the upgrade will take place in the background again.
Installation from a removed prior install
State after remove (standard App Center deinstallation)
A normal remove operation leaves the configuration in place. The configuration will be used after installing ownCloud 5. If you want a clean and fresh installation, purge the remaining configuration using apt-get purge owncloud on the command line and read on in the next section.
State after purge (only data left)
When a prior ownCloud install has been purged, two "things" will be left:
- User data and files in /var/lib/owncloud/
- The MySQL database 'owncloud'
These data is not removed automatically, because it contains user data, which should not be removed after an application deinstallation. Unfortunately, the still exisiting database is a problem for a new installation, because it has outdated data structures, but upgrade paths cannot to be followed, because version information about the former installation is lost, as it was kept in a config file. You have two options:
- Remove at least the old 'owncloud' database. To delete the database use
mysql -u root -e "DROP DATABASE owncloud" -p`tail /etc/mysql.secret`on the command line. Then it is also best, to (re)move the old /var/lib/owncloud/. - Install a prior version of ownCloud (i.e. the latest version of ownCloud 4.5). Make sure everything is fine (log in as a user, check log for errors) and install ownCloud 5 afterwards.
Afterwards, the installation of ownCloud 5 works flawless.
Download
You can get ownCloud 5 Enterprise either via the UCS App Center (recommended) or from the Download section on the corporate ownCloud site.
Add new comment